I know that sometimes change can be uncomfortable, but in this case, change is glorious.
I just returned from On Stage in Milwaukee where I was able to get a sneak peek at the new annual catalog that will be live for customers June 1. Not only are there some amazing products coming our way, but there is another BIG surprise!
Stampin' Up! is doing a COLOR REFRESH!
We know that there are some colors that we don['t use as often. There are others that may feel a little "outdated." I know there are some colors I wish I had.
It's like SU! read our minds. The color refresh has infused our existing colors with some new ones that make the whole color line feel current. In order to make room for the new colors, some old ones had to leave. Some surprised me. Others didn't. Before I show you which ones are gone, let me show you the new color families!!
So pretty!!
There are still 4 color collections, each with 10 colors. There is also a new color group called Basics. In order to keep our color collections to exclusive Stampin’ Up! colors, we moved Basic Black, Very Vanilla, and Whisper White out of the Neutrals collection. We’ve also moved a few colors into the Neutrals collection, making it more exciting and colorful!
Some additional colors have changed collections as well—you’ll notice this as you look through the new collections below. You can refer to the old and new color charts in the 2018-2019 catalog. These changes were based on needing to maintain color balance in our updated collections. For example, Poppy Parade is now the brightest red so it is part of the Brights collection.
IN COLORS
There are no changes to the In Color program. Every two years we will continue to introduce five new In Colors that will be available for the ensuing two years.
We also have previous In Colors that are returning and joining our core colors:
- Mossy Meadow
- Poppy Parade
- Flirty Flamingo
- Coastal Cabana
- Mint Macaron
- Blackberry Bliss
Want to see the new IN COLORS?! Here they are along with a snapshot of the new additional colors:
My favorite are the bright and lively purples along with the Granny Apple Green!
Ok, so now that we are in love with the new color lines, it's not so hard to say goodbye to our retiring friends. Here are the ones we must say goodbye to:
It's not quite so painful to say goodbye to Perfect Plum when we now have Highland Heather, right?
However, if you really love one of these colors, please stock up now while they're still available because you know everyone is going to buy up all that Chocolate Chip paper and you'll be left without it right around Christmas when you want it!
The ink pads and ink refills are guaranteed to be available at least until May 7, but all other color products are only available while supplies last until May 31!
Shop with me anytime, and get those products while you can!
I hope you're as in love with the new colors as much as I am. I'd love to hear from you. Which is your favorite? I think Pineapple Punch is mine. Love those yellows!
Stay tuned. I will be posting pictures of the swaps I received from On Stage. They are fabulous! I also have some pretty sweet pictures of projects made with new products, and you don't want to miss those!
Until next time, stay crafty!
Alison


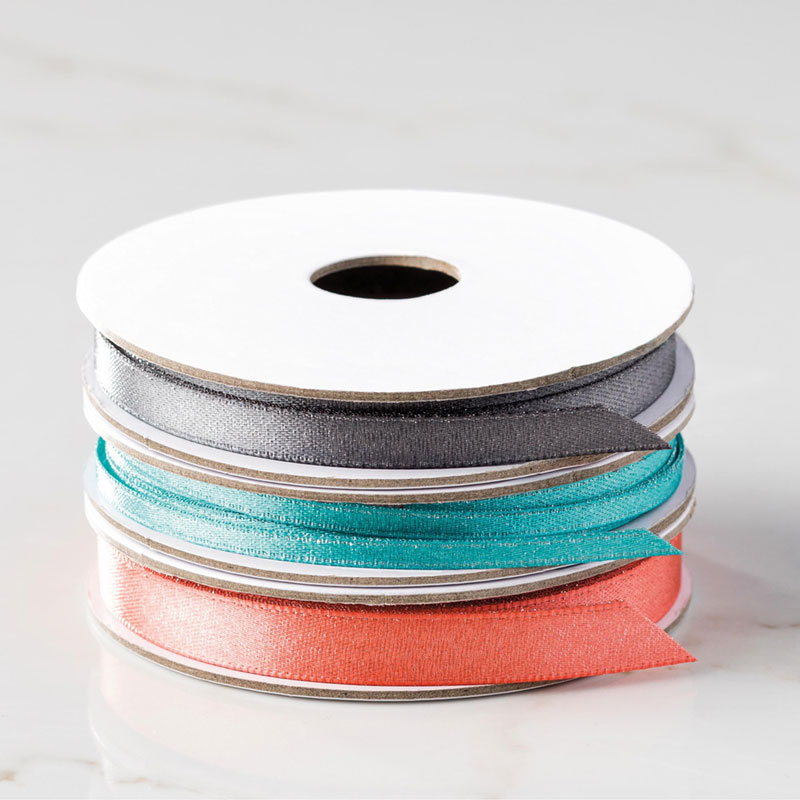


 Solid Ribbon")
 Ribbon")